You would think that you can have full control of your Windows when you are its
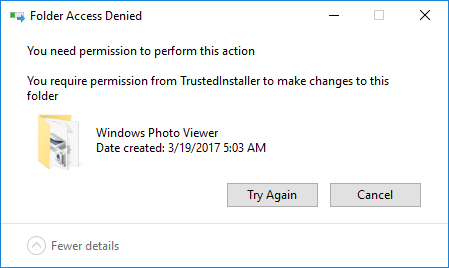
Administrator. However, when you try to delete some of the files from your computer, a Folder Access Denied message will pop up and say “
You require permission from TrustedInstaller to make changes to this folder.” Looks like you still don’t have the final say on your operating system.
In order to protect core files in Windows, Microsoft has created an
NT SERVICE\TrustedInstaller account in Windows to own these important files and prevent them from being removed. Therefore if you try to change or delete any of these files, a
“You require permission from TrustedInstaller” will appear and stop you from proceeding.
But If you know what you are doing and persist in your action, here is how to claim the privilege from TrustedInstaller:
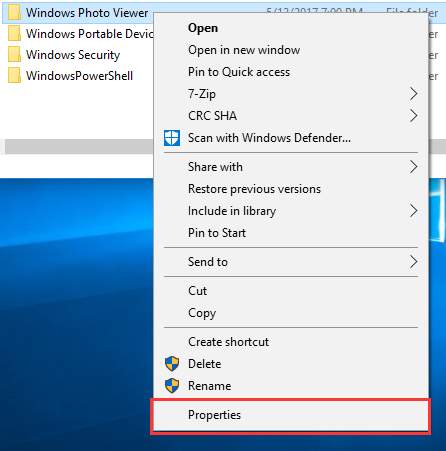
1) Right-click on the file or the folder you want to change or delete and select
Properties.
2) On the Properties window, open the
Security tab and then click on
Advanced.
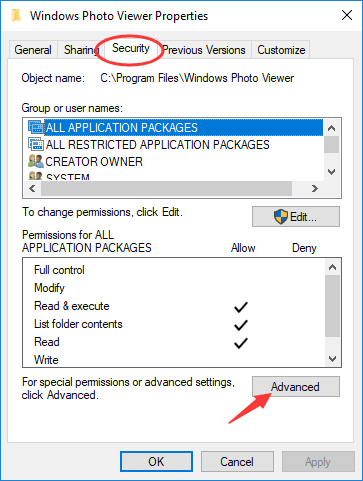
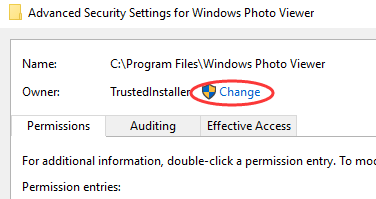
3) We are now going to change the Owner On Advanced Security Settings window. On
Windows 10, you can click on
Change next to
Owner: TrustedInstaller.
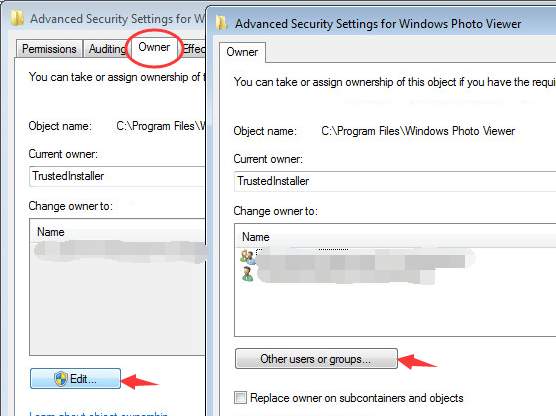
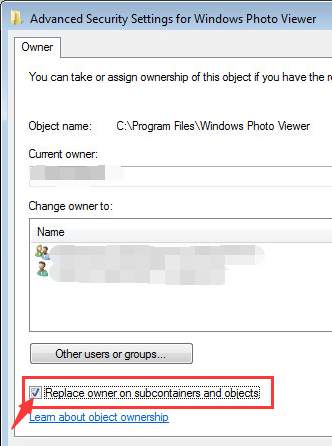
But on
Windows 7 or earlier versions, you need to select the
Owner tab and hit
Edit. And on the window popping up, click on
Other users or groups.
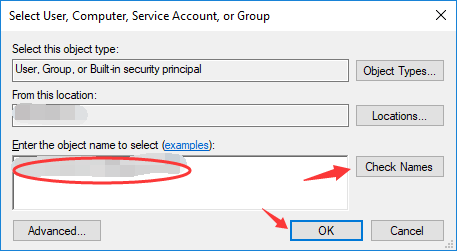
4) On the window popping up, type the
user name you are using on this computer into the box and click the
Check Names button. Windows will automatically check and complete the full object name. Then click on
OK.
5) Tick the box next to
Replace owner on subcontainers and objects if you want to apply the ownership changes to all the subfolders and files. Then hit
OK to close this window and go back to Properties.
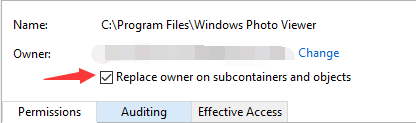
On
Windows 7, the
Replace owner on subcontainers and objects box is below the
Other users or groups button.
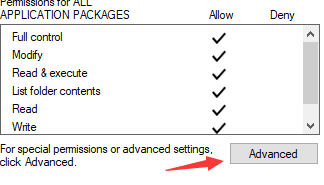
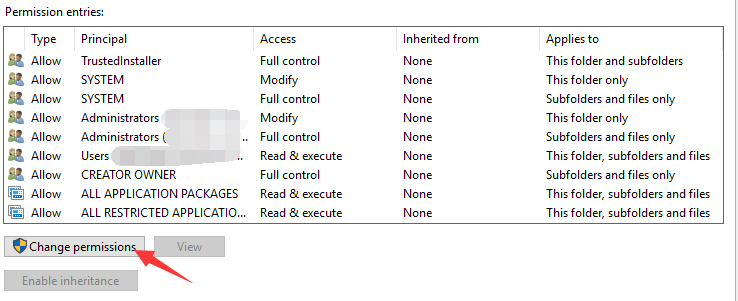
6) Click
Advanced again. Then click on the
Change permissions button under Permission entries
7) Click on
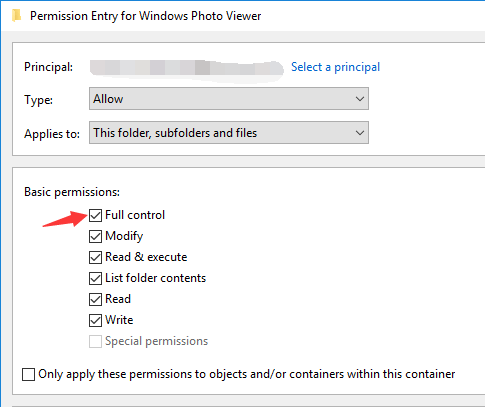
Add. On the Permission Entry window, click on
Select a principal. A window similar to the one that appeared in
step 4 will show up again and you need to
repeat step 4.

Tick the box next to
Full control in the
Basic permissions section, and hit
OK.
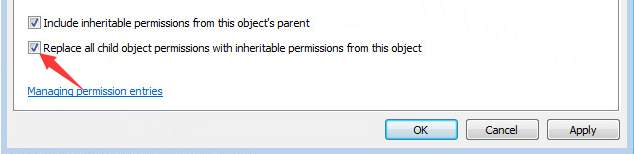
Check
Replace all child object permission entries with inheritable permission entries from this object. After that, click on
OK all the way out.

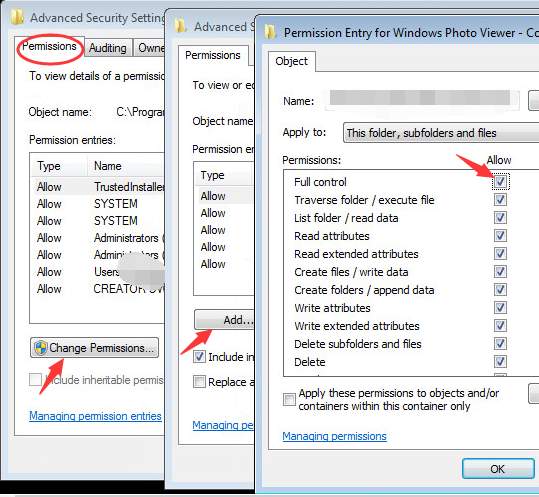
For
Windows 7, you need to click on the
Change Permission button on the
Permissions tab to see the
Add button. Click on that and
repeat step 4. After that, check the
Allow box of
Full control and click
OK.
Check Replace all child object permissions with inheritable permissions from this object. Then click on
OK all the way out.
8) Now you can delete the file that you have just changed ownership without the “You require permission from TrustedInstaller”
message bothering you.
You can also apply these changes to other protected files to take full control of them. But remember you should always understand the likely consequences of your full control and know what you are doing before you take any further action.